
Rounding corners in Adobe Illustrator is a simple process that can add a polished and professional touch to your designs. Whether you’re working on a logo, a flyer, or any other type of graphic, knowing how to round corners can be a useful skill. Here’s a step-by-step guide on how to do it.
Top 20 Highest Paying Freelancing Skills in 2024
How To Use Image Trace In Illustrator
Step 1: Open Your Document
First, open your Adobe Illustrator and create a new document or open an existing one where you want to round the corners of a shape.
Step 2: Draw a Shape
Next, draw the shape you want to modify. You can use any of the shape tools available in Illustrator, such as the Rectangle Tool, Ellipse Tool, or Polygon Tool. For this example, let’s use the Rectangle Tool.
- Select the Rectangle Tool from the toolbar on the left side of the screen.
- Click and drag on your artboard to draw a rectangle.
Step 3: Select the Shape
After you have your shape, select it. You can do this by using the Selection Tool (the black arrow) from the toolbar. Simply click on your shape to select it.
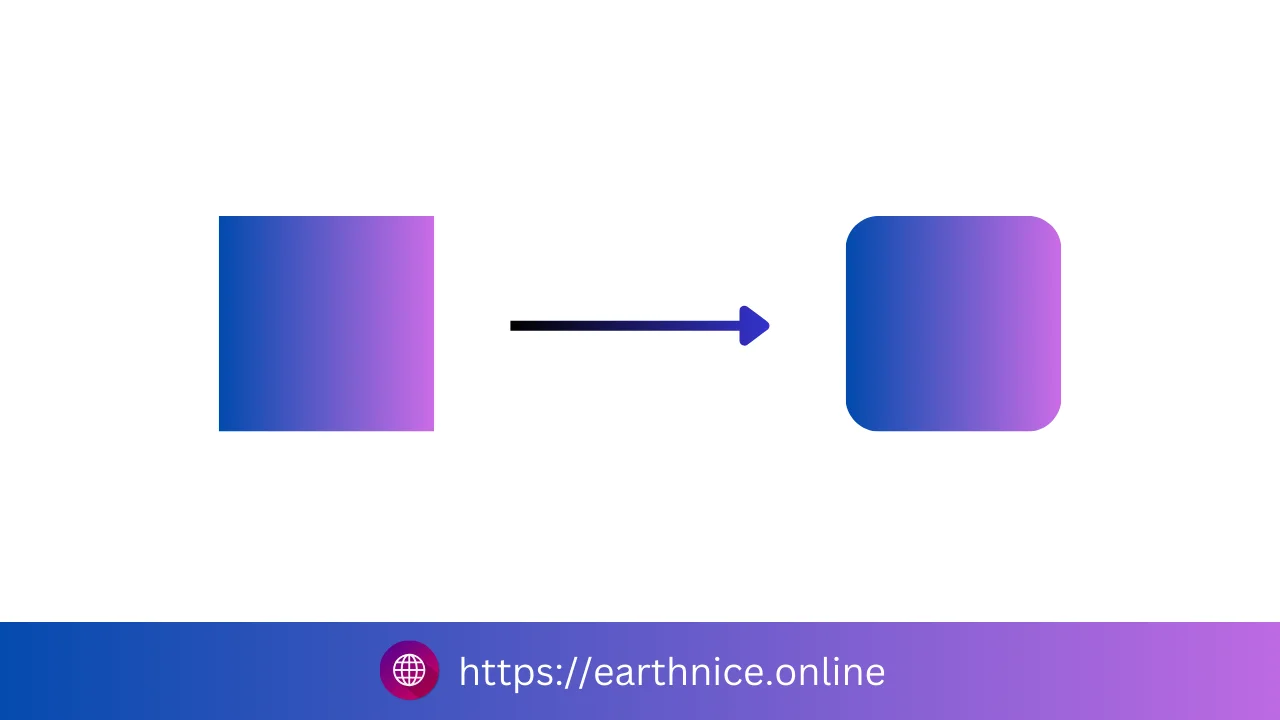
Step 4: Rounding the Corners
Now, it’s time to round the corners. There are two main ways to do this in Illustrator: using the Corner Widget or the Transform Panel.
Using the Corner Widget:
- With your shape selected, look for small circles near the corners of your shape. These are called corner widgets.
- Click and drag one of the corner widgets inward to round the corners. You will see the corners become rounded as you drag.
Using the Transform Panel:
- With your shape selected, go to the “Window” menu and select “Transform” to open the Transform Panel.
- In the Transform Panel, you will see a section for corners. Enter the desired radius for the corners in the input box. For example, if you want a 10-pixel radius, type “10” in the box.
- Press Enter, and your shape’s corners will round accordingly.
Step 5: Fine-Tuning
You can adjust the roundness of each corner individually if needed. Hold down the Alt (or Option on Mac) key while dragging a corner widget to adjust that corner independently from the others.
Step 6: Save Your Work
Once you’re satisfied with the rounded corners, make sure to save your work. Go to “File” and select “Save” or “Save As” to keep your project updated.
Tips:
- You can also round corners of other shapes like polygons and stars using the same methods.
- Experiment with different corner radii to see what looks best for your design.
Rounding corners in Illustrator is a quick and easy way to enhance your designs, making them look more modern and visually appealing. Practice these steps, and soon you’ll be able to round corners effortlessly in all your Illustrator projects!